Move Planning Center
Resources and Moving Tips
-
Purchase Moving Boxes & Supplies
Buy moving boxes and supplies from Olympia—we’ll deliver them to your door.Order Moving Supplies -
Frequently Asked Questions
Our FAQ page will help you answer a variety of questions related to the entire moving process.FAQ’s -
Download Free Label Templates
Pack better with Olympia’s room-by-room labels—download, print, and use!Box Labels -
Client Move Portal
Log into your Olympia Move Portal to keep track of important documents and track the progress of your move.Client Login
Video Tutorials
Packing can seem intimidating. Fortunately, our comprehensive “How to Pack” video series is here to guide you! Learn the best ways to pack dishes, china, tools, breakable items, and more.
Customer Rights & Responsibilities
As our customer, you have specific rights and responsibilities, and we’re committed to ensuring you understand each aspect of the moving process. Choosing an established, insured, and professional moving company matters, and we’re here to make you feel informed and comfortable every step of the way.

Posts Listing with Category Filters and Pagination
-
 A.J. Schneider • 12 Jun 2025
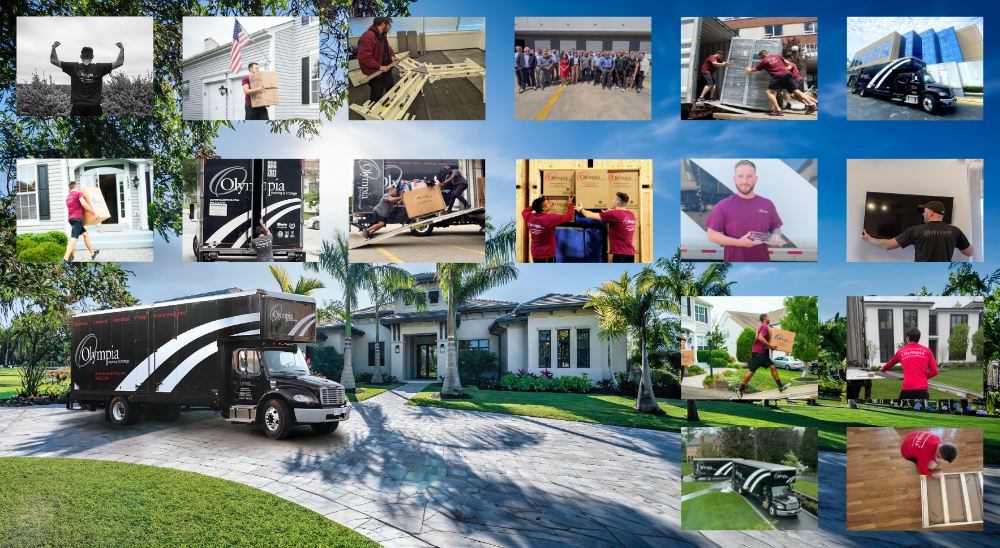
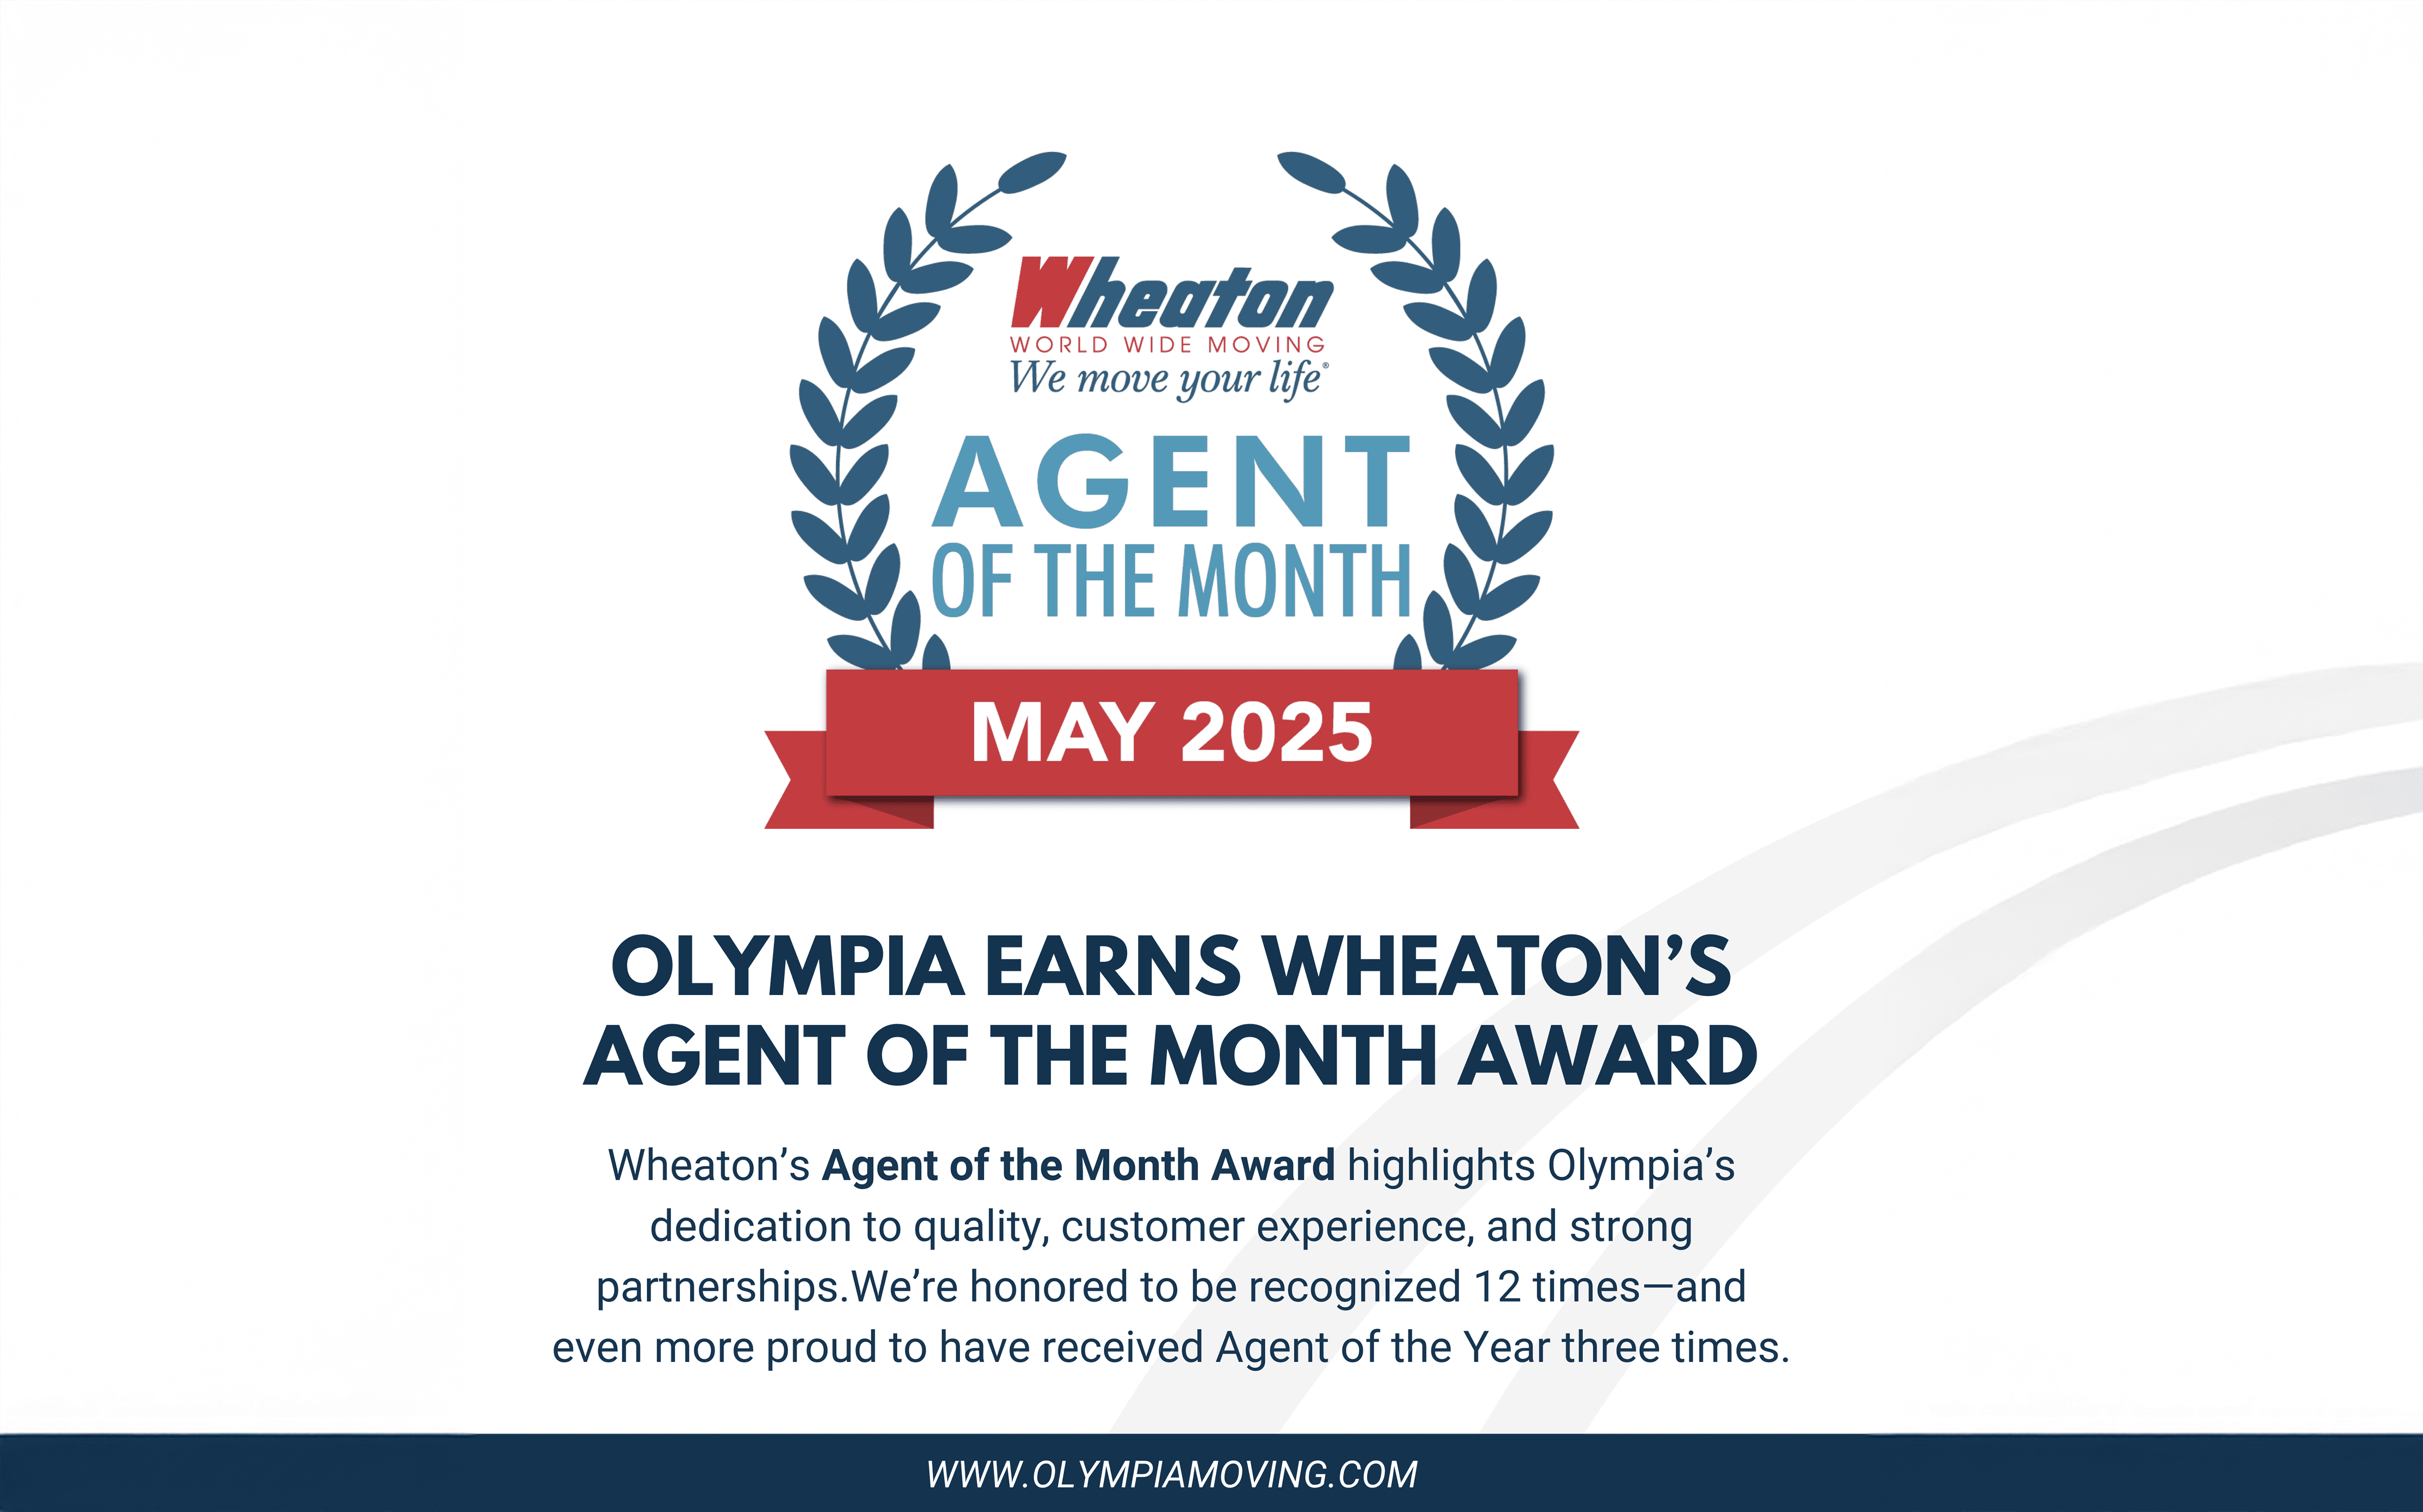
Olympia Moving & Storage Recognized as Wheaton’s Agent of the Month for the 12th Time
- AJ Schneider • 10 Jun 2025
Moving Services for Seniors in Tampa: Compassionate Care for Life Transitions